Thursday, June 27, 2013

this just in:


Coming soon...


After more than two years of longing for a bigger family, we are THRILLED to announce a new little family member. He/She is just the size of a peach, but is very present in all of our hearts! If I dare say a word about my two children I am quickly corrected by Anna and Elisha that I have three children now! We can't wait until sometime around New Year's Eve when we get meet this little one face to face. We can't wait until next week or so when we will find out whether we are expecting a brother or sister.

Anna and Elisha are now sharing a room-- and loving it! I have bought boy colors and girls colors of gorgeous yarn so I'll be ready start a nice warm baby blanket as soon as we know who he/she is ;-)

Our hearts are just so so full of thanksgiving!

Saturday, January 26, 2013

The Hen : An Appreciation

Ahhh! E.B. White's The Hen: An Appreciation.  All you backyard chickeners will enjoy his little blurb.


We are eagerly waiting for the days to get longer and longer and our chickens to lay more and more eggs... And I am wanting more chickens. I want to be patient and wait for one of our girls to feel drawn to motherhood... At which point I will sneak some fertilized eggs underneath her and let her do all the work of caring for the babies. But, it is hard to be patient. I am ready for some more bitties!

My mother has convinced me that I must do an oil painting of the above photo... I have decided where I will put it when it is finished, but I have not decided when and where I will do the toxic fume, messy work...hmmm. And what if my paint has all dried up? There are downsides to being an artist of many many varied mediums (as my husband can assure you whenever we try to organize and clear out our basement- my workshop)!

Thursday, October 4, 2012

meet my 20 year old crafty (crafted) friends


My mother gave me a box a while ago that was full of odds and ends... old photographs, letters, yearbooks... and these little girlies. I remember so vividly spending all afternoon pouring over toothpicks and embroidery floss with my cousin. We would wrap the thread around a toothpick and wet it... when it dried, you had lovely curls. We designed their outfits and hair styles. Magic moments of being lost in childhood creativity. I know my cousin treasures those memories, because when I was visiting her the other day I found a few of her little toothpick girls mixed in with her sewing notions ;-)


Amazing that the curls have lasted at least 20 years!


I decided that it was time to give these girls a proper home (20 yrs old seems like a good age for getting your own place right ;-)


An Altoid box, scrapbook paper, glue, ribbon and a VERY quick, VERY tiny sewing project and these ladies are set!


and there you have it, TA DA!

** these are what we call restaurant toys. they are only played with while we are dining out or in particular places- like waiting rooms. small and lightweight for my purse...and something that I like to be supervising, so they don't get destroyed or lost (my daughter is only 3;-)

Monday, September 17, 2012

ummm.... hi, my name is jane.

I feel like I need to reintroduce myself. I feel like it has been forever since I have been 'here'. While I'm sure it hasn't been all THAT long, I do feel like a bit of a different person. You see, I have a new job. My becoming a Kindergarten teacher (of one child... my own) directly corresponds with my blog break. This year I expect that I will not be blogging quite as much... but if you are interested in what my world looks like when I'm not blogging about it, you can check out the pictures I am posting on Instagram. I have put a gallery of updating pics on the side bar and you can click on them to see them larger on the webstagram website. I instagram a lot... Love the "insta" aspect! But, I do have a number of things to show and tell... so maybe I'll post more often than I expect. You know, now that we are reacquainted and all ;-)

Wednesday, July 11, 2012

July fourthing concluded

We returned a while ago from our delightful annual mountain trip with Andrew's family. We have developed some traditions that are becoming quite dear to us and I imagine our children will have wonderful associations with these "July 4th" things that we enjoy so much...

~The road trip that includes a stop for produce and boiled peanuts...
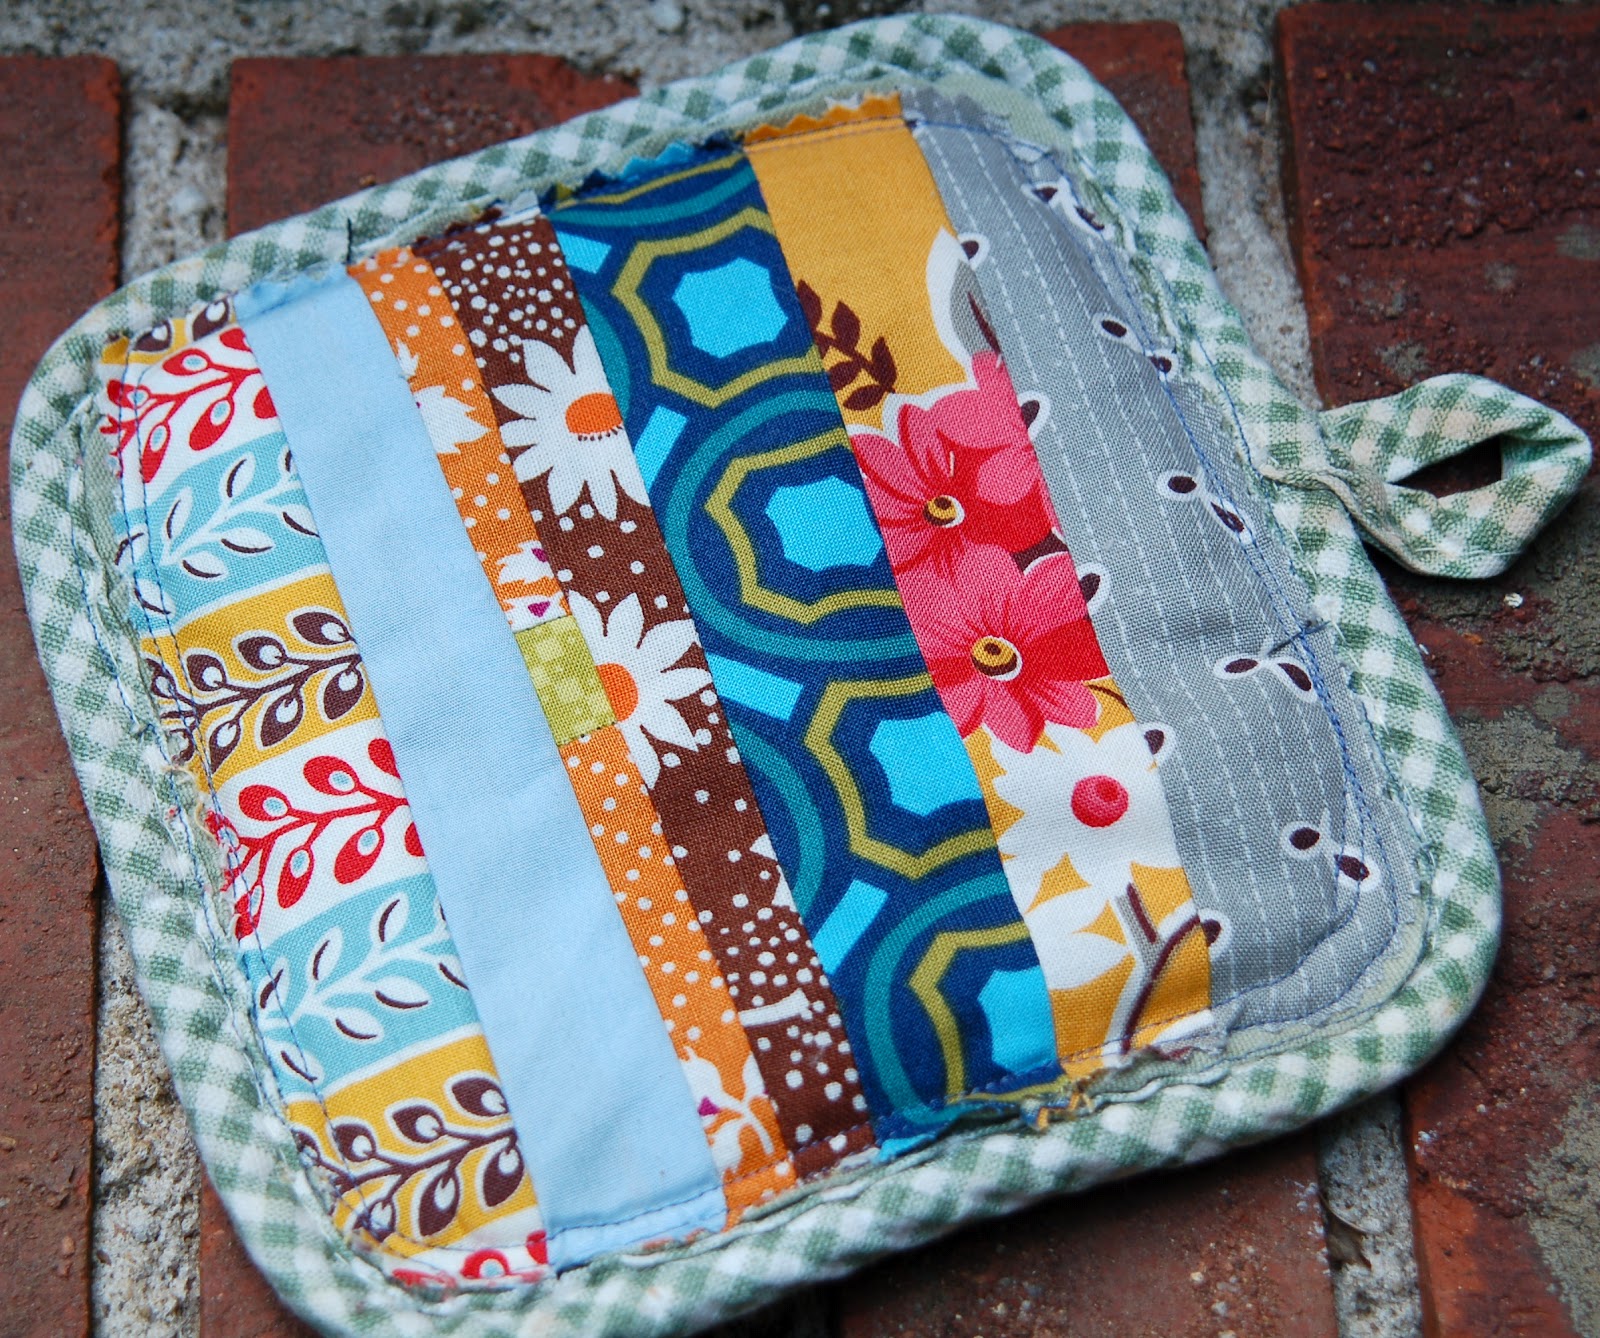
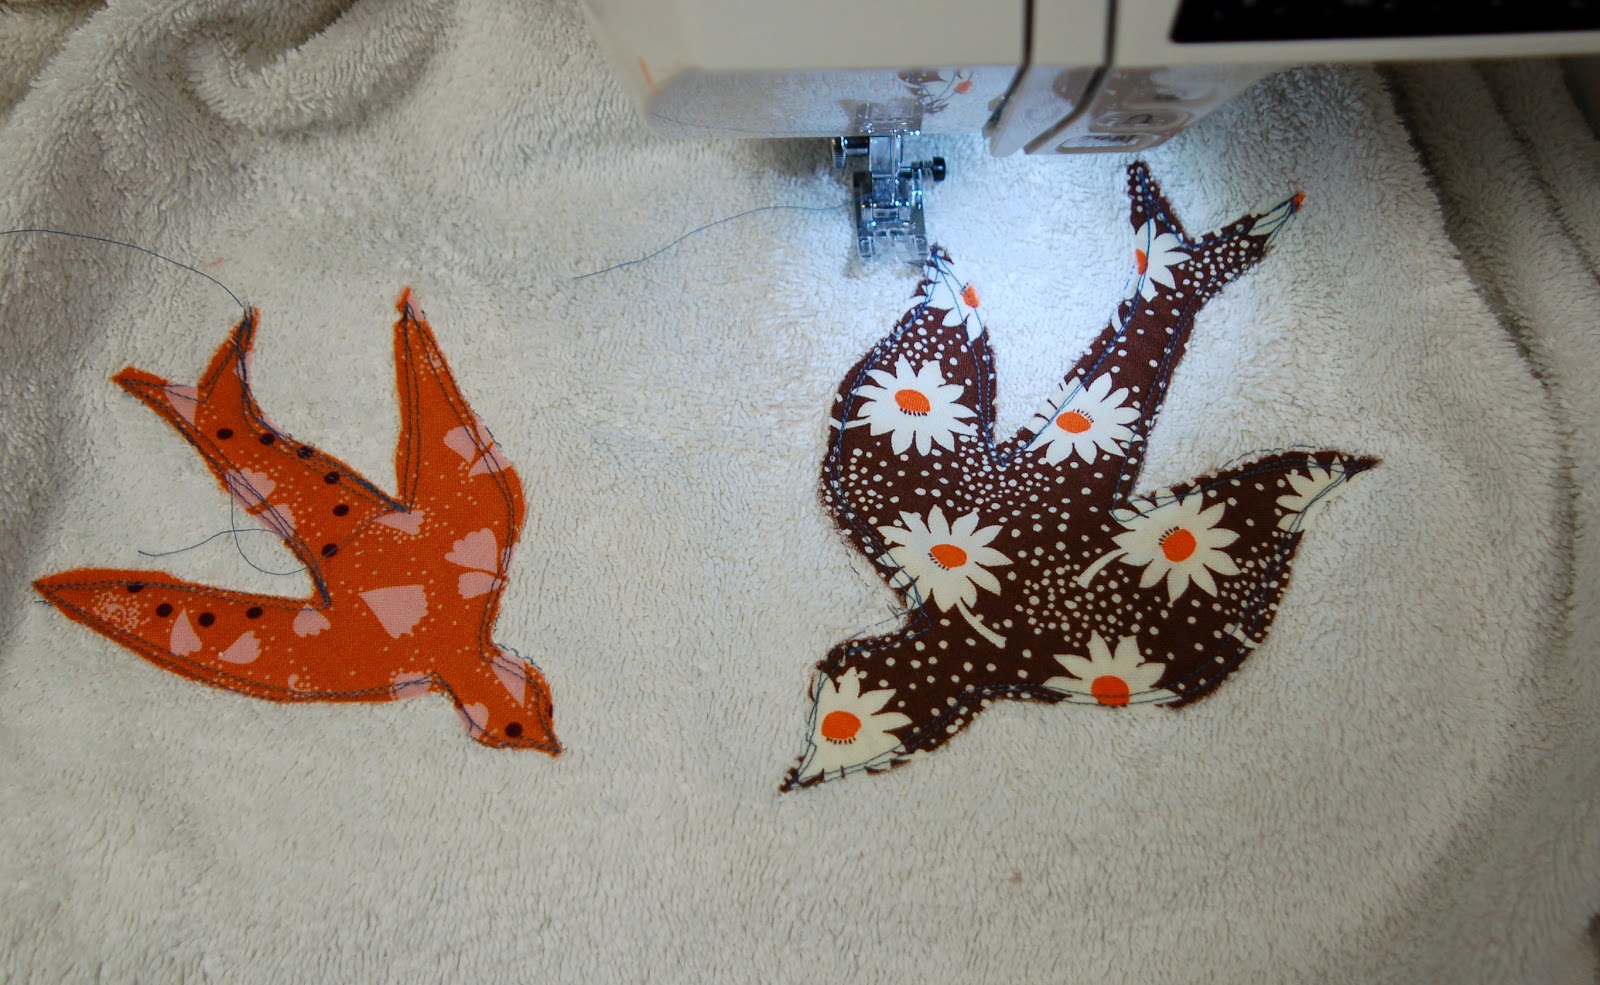
~And, of course, includes some projects for Mama to work on in the car and continue working on on the porch all week. This year I worked on binding my sister's wedding quilt and knitting a sweater for Anna (because I don't know how I could get through July without starting a sweater ;-)
~Silly red,white, and blue attire and pinwheels.
~Family pictures.
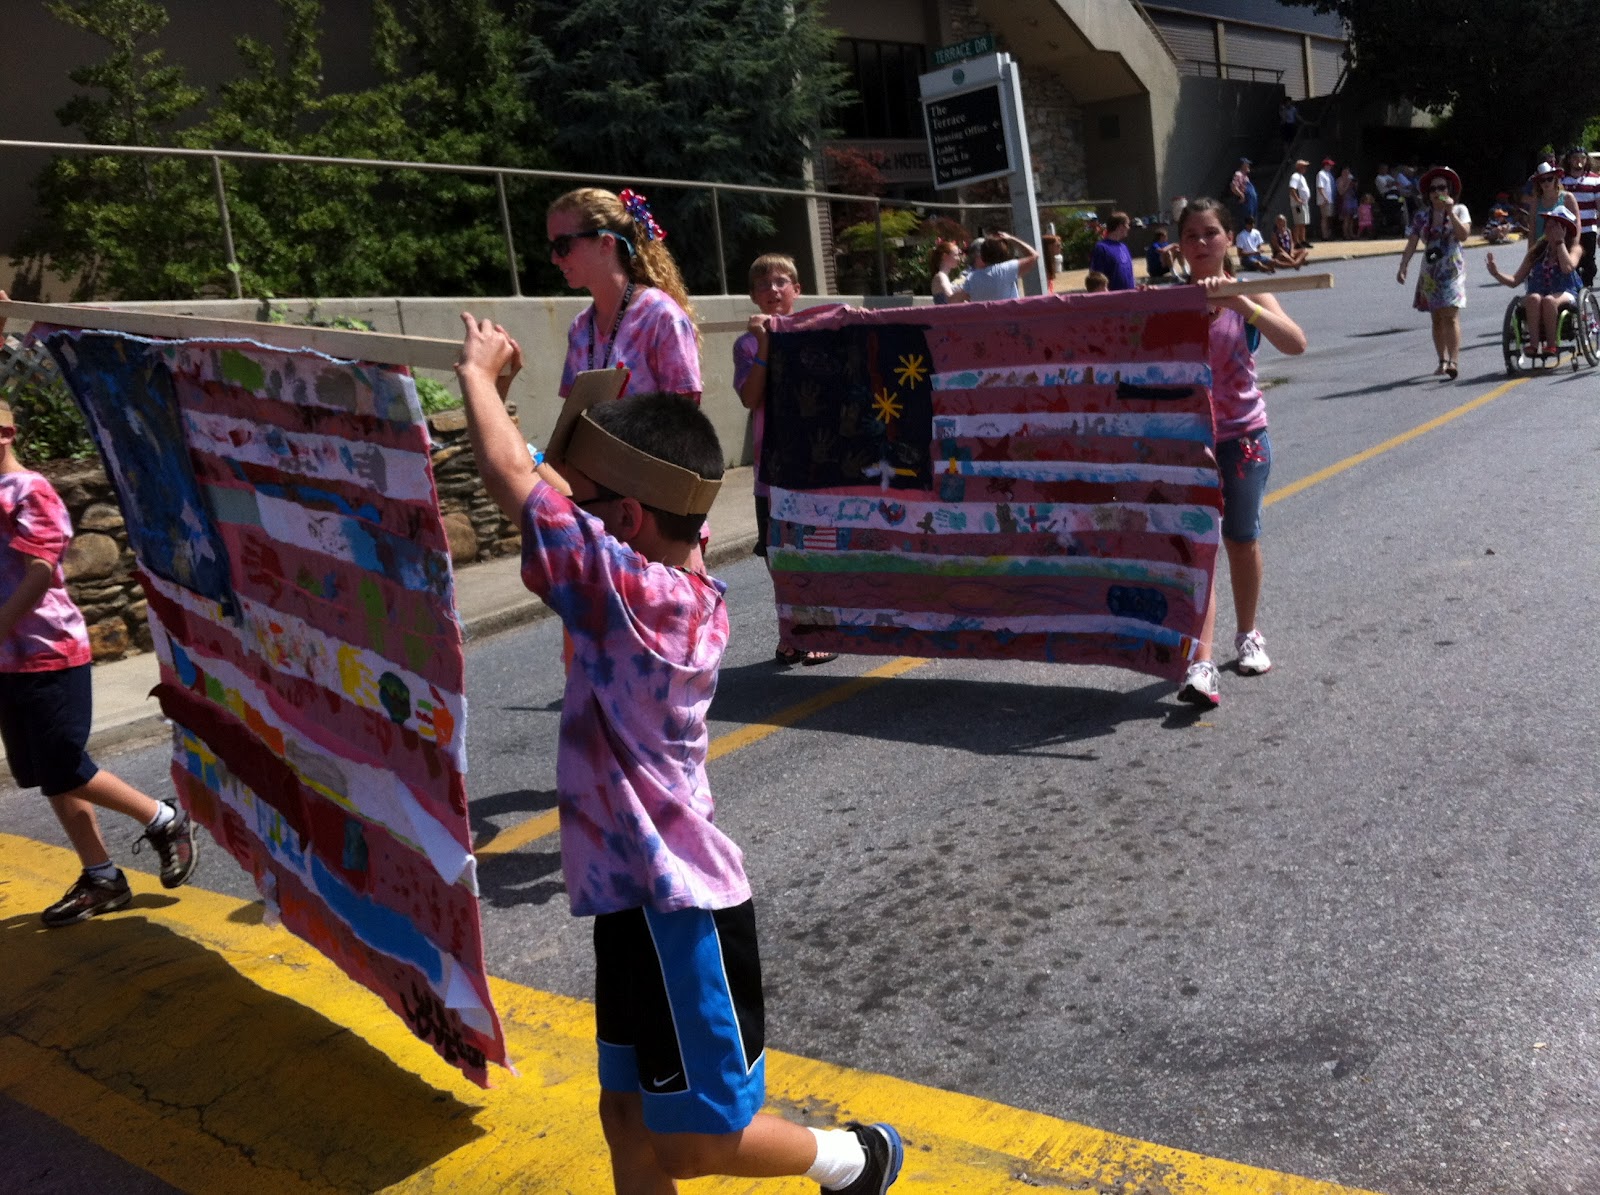
~The perfect small town American parade including bright sunshine, gathering handfuls of candy off the steaming asphalt, and waving to various county politicians and family reunion groups in the procession.
~Lots of great cousin time... especially matching cousin time;-)
~Enjoying all our meals on the front porch picnic tables.
~Eating our homemade peach ice cream on the porch swing and going straight back for seconds.
~Everyone bringing their garden produce to share... this year we enjoyed an afternoon shelling a MESS of black eyed peas from our garden.
~ Some close encounters with the elk of Cataloochee during our evening hike and picnic there.
~ a little antiquing here and there...
~ and coming home tired, but refreshed!


Thursday, June 28, 2012

getting your flag colors on!

My mother-in-law requested that we wear our "flag colors" on the forth of July for a big family photograph. I don't know about you, but I don't really have a lot of "flag colored" clothing. Well, I have plenty of white... some blue... not much red, but really nothing that combines them all together in a festive patriotic way. So--- I did a quick little project and now I'm set for years ;-)


I saw this little appliqued tank project in a sewing book that passed through my hands a while ago. I'm sorry to say that I'm not sure which one it was... But, all you need is a few scalloped pieces of wonder-under and fabric scraps... couldn't be simpler.


If you would like a refresher on the applique process, here is a link to a previous tutorial that walks you through the steps.

So, how about you? Do you dress in festive attire on the 4th? My grandfather alway wore a sequined red and white striped tie and had a special "flag color" painted cane for the occasion. Sometimes I really miss decorating my bike with red,white, and blue streamers for our neighborhood parade! Maybe Andrew will consent to some streamers on our car?  ;-)

Monday, June 25, 2012

tiniest mary janes


It has been a WHILE since I made a pair of my favorite baby shoes... I had to sit and scratch my head for a minute to remember the steps in order. There was a time when I was making quite a few!

A friend of mine is having her third baby, but first girl... so of course I had to make her some absolutely, adorably girlie tiny shoes for her Sprinkle. In our group, you get a Baby Shower first go 'round and a Sprinkle for subsequent babies... I love a Sprinkle. We get together for dinner on a weeknight and eat yummy stuff (more often than not a baked brie is involved) while we share birth stories, and laugh over potty training disasters, and then settle down to finding out what is weighing most on the soon-to-birth mother's heart and then pray for her and her family. It is such a very sweet and treasured time.

But, back to these little mary janes... they are wonderful... they stay on, they are cute, and they are lined with the softest felted cashmere from a recycled goodwill sweater.


I took a few pictures (some very poor quality) of my process... I can write out a full tutorial (and maybe add a few more pics even?) on this if you want me to, but you are going to have to sweet talk me into it ... just kidding, really all it takes is just commenting that you are interested ;-) sometimes I feel like I'm sending this out into oblivion.  And if the pictures are enough to get you started on a pair of your own, I would LOVE to see a pic... tiny shoes just make my day!


Thursday, June 21, 2012

too hot to handle


What do you get when you take an old worn out pot holder, some fabric scraps and few minutes of your time?


I have noticed that the main pot holder I grab most of the time is not lovely. at all. Something about the size, shape, and thickness must be just right, though, because I use it a lot. I'm not even sure where it came from (if you recognize it as your own, feel free to claim it ;-). The other night I was carrying stuff down to the basement while waiting for water to boil. I grabbed the pot holder on my way and decided to make it look a bit more presentable. The pieced front was stitched together before the water boiled. I LOVE and quick project like this... My most used potholder now makes me so much happier every time I use it and I didn't have to put more than 15 minutes towards giving it a makeover.

As my mama always said, "A thing of beauty is a joy forever."


Monday, June 18, 2012

how does your garden grow?


Ours is well on it's way. We have been enjoying a cherry tomato here and there... plenty of basil and squash... and the beans are about to start really kicking!

We have spent a good bit of time in our garden getting ready for our tiny informal community garden tour... it is always nice to have a reason to get everything tended to and looking nice at the same time. I think everyone was here to see the chickens, but we used it as a reason to tidy up all the spaces in our yard.


The garden path was weeded and mulched.


Our gorgeous Snowflake hydrangea only needed to be told how absolutely beautiful she is!


The hosta hill was weeded and tucked into a fresh bed of pine straw.


Our work in progress waited patiently until the tour was over and then we finished framing two more walls...this little playhouse is swiftly becoming a reality (and a berry juice restaurant -- there are wild blackberries growing behind it and Elisha has been smushing them and dropping them into water to serve us ;-)


This lovely blue hydrangea was also happy to just look lovely with no help from us... it is no wonder I love a hydrangeas so!


My lambs wool is also doing just fine on her own thank you very much...and has received glowing reports on her children ( I have divided and shared from this huge thriving plant with great success).


This was the biggest ordeal we tackled lately. I do not like heights. My husband does not like heights. However, we spent a good bit of time on friday at the top of a tall ladder and hanging out of the upstairs window getting this Lady Banks rose tamed. I kept asking myself if it was worth it. I have a feeling that come next March when it is in glorious full, fragrant bloom I will be so glad that we went to the trouble.

We have enjoyed being the token youngsters in our community garden... and it was great fun to introduce them to Baby Princess and share some sweet tea and deviled backyard eggs.

Thursday, June 7, 2012

got holes? ... a towel repair tutorial

Isn't it a shame that the towels that get holes are the well loved, worn in, favorite ones? I am pretty pleased to have my nice old towel back in the game... with a lovely addition. It will certainly be a favorite again! Do you want one?


Grab your holey towel...


And some Pellon Wonder Under iron on adhesive and fabric scraps big enough to cover the hole.


I cut my Wonder Under out into two birds(that would be big enough to cover my holes) while I had it folded... so I then had two of each bird, mirrored. Iron the Wonder Under to your fabric and cut the shapes out.

** I used birds, but be inspired by the size shape and placement of the hole/holes you have to cover... you can use design for this project. And, yes, I was laughing at myself and thinking of the "put a bird on it" clip from Portlandia... but what can I say- I like them.


These mirrored pairs are for covering the holes from both sides of the towel.


Peel the back paper off and iron the birds onto the towel covering the holes strategically. Then, stitch around the edges on your sewing machine.


Notice the back side of the towel... you can see the hole and the stitches. Use the stitches to help you line up the other pair of birds directly over the back side of the first pair. Iron the second pair down into place.


Stitch around the edge. I actually like to go around several times to get a flowy movement with my edge line. (I like how it masks any imperfections ;)
Ta Da! Now, if I could figure out how to give second life to my favorite pj pants that are disintegrating!